Configure GitHub with GitKraken
Apr 10, 2020
Git, GitHub, RStudio and GitKraken
Git is a programming language that lets you take snapshots (like taking a picture of a scene) of the contents of a folder on your computer. Typically, git is used with a folder full of computer code files. Git includes functionality for tasks like:
- Replacing a file with an older version of a file if you make a major mistake.
- Comparing files through time.
- Marking a snapshot with tags like “publication submission analysis” or “publication revision analysis”.
- Combining files if two or more people worked on them at the same time.
These features enable programmers to collaborate, making git wildly popular.
Traditionally, git is controlled by typing instructions. The syntax for the tasks mentioned above begin with the word git, followed by options, commands, command-options and operands, all written on the same line. While some of the syntax is simple, each git command has dozens of possible options, which are brutally difficult to memorize.
Happily, other software has been built to write git commands for you as you point and click. The graphical user interface that most R programmers use, RStudio, will let you point and click your way through some git tasks. A web enabled tool, GitHub, does a good job of allowing you to share your code with others, and it has good tools for integrating code when multiple people are working on a project. Finally, another software package, GitKraken, has excellent tools for managing workflows on your local machine and for talking to GitHub. The features in GitKraken are wonderful for tracking different parts of a project as you are adding or debugging multiple features. Later posts will cover best practices for developing with all these tools. Here I will walk you through some details for setting up Git and its friends. I assume you have read the earlier posts on setting up your machine for data science using R and RStudio.
Working with the bash shell
Checking Git
You can double check your version of git by going to a bash shell and then typing:
git --versionIf you don’t remember how to access the shell, take a look at Configure a Mac for Data Science or Configure a Windows PC for Data Science.
Showing your “branch” in the bash shell
As I mentioned, git takes snapshots of a directory (which you would think of as a “folder” with all its contents). It is really designed to keep track of related sets of snapshots. These sets grow through time like a tree’s trunk and the branches off the trunk. There is a branch typically called “master” (which is like the tree trunk) that contains the “completed” or “I think it is bug free” code. Other branches split off the master, with names like “new feature” or “fixing old bug #3.” These branches, off the master branch, start with a copy of the contents of a master branch snapshot. You can take snapshots of these additional branches as you build parts of a solution. Once the new feature is done or once the old bug is fixed, you can add the code back onto the master branch and delete the temporary branch that you used while you were developing the solution.
By default, when you are looking at the directory in the terminal that git is monitoring, it does not tell you which branch you are looking at. This can get wildly confusing when you get back from lunch and you start to work on the wrong branch of your code. I like to have my terminal window show me which branch I am working on. To do that, you need to modify a bash configuration file.
Most Macs, as well as Windows machines with git installed, have a terminal that uses the bash shell. I have my terminal configured to show me the file path to the directory that I am currently looking at, as well as which git branch I am working on.
To set the configuration, you need to create or modify a file called .bash_profile. On Macs, that file is hidden by default. To see if you have the file already, in the shell type:
cd ~
ls -a
PRO TIP: Mac files with names that start with a . are hidden. With a finder window open, type
⌘ ⇧ .(command + shift + .) to toggle show/hide hidden files.
If you don’t see a file called .bash_profile type this:
touch .bash_profile
open .bash_profile
A text editor will open the file called .bash_profile. Paste this code into the file:
#Turn on color for bash
export CLICOLOR=1

#Choose the colors
export LSCOLORS=GxFxCxDxBxegedabagaced

#look up if the directory is using Git
parse_git_branch() {
  git branch 2> /dev/null | sed -e '/^[^*]/d' -e 's/* \(.*\)/ (\1)/'
}

#Display path and git branch by the curser
export PS1="\w\[\033[32m\]\$(parse_git_branch)\[\033[00m\] $ "
If all goes well, the next time you open a shell window these instructions will tell bash to show you the branch if git is enabled (initialized) in a folder. It will also tell bash to highlight folder names in light blue when you use the ls command to list the stuff in a directory.
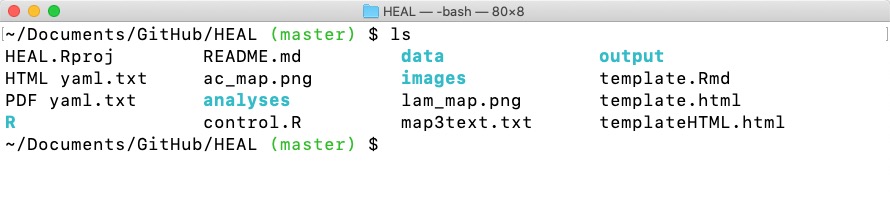
Figure 1: Bash with a .bash_profile file
If you already have a .bash_profile file, it likely has an export PS1 statement. Consider defining the parse_git_branch(){stuff_listed_above} function before the export PS1 statement, and add (parse_git_brach) into your export PS1 statement. That will turn on the display of your git branch.
GitHub (for Students)
GitHub is a website that allows you to save your snapshots and, if you want to collaborate, will synchronize/harmonize your snapshots with other people’s work. Getting an account is as simple as visiting www.github.com and requesting an account. I strongly encourage you to use a .edu email account if you are a student. This will make it quick to get access to extra software/services.
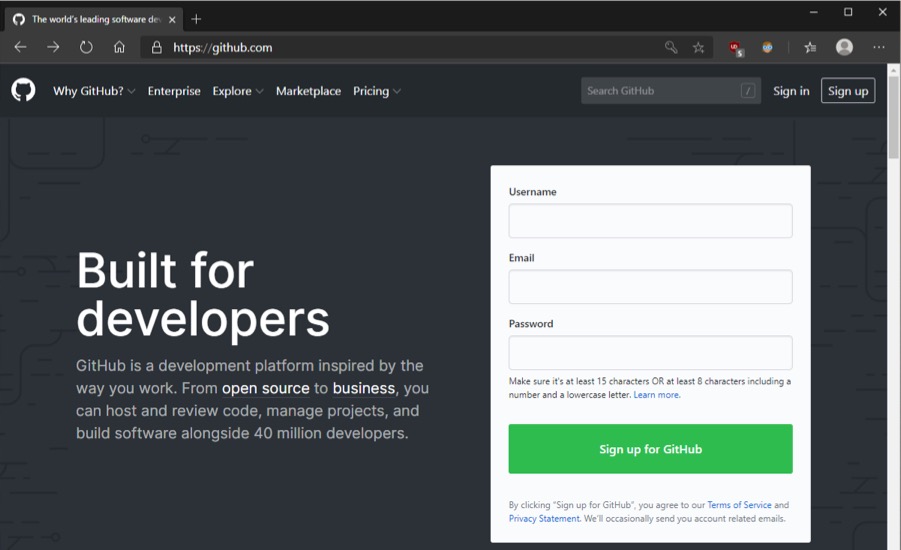
Figure 2: Make a GitHub account
After setting up the account go to education.github.com. Click the “Get benefits” button in the upper right corner.

Figure 3: Go to the GitHub Education website and click Get benefits
After you get a confirmation from GitHub click on the GitHub Student Developer Pack logo. Admire the amazing offers, then find the GitKraken info (not the GitKraken Glo) and click the link to get an account:
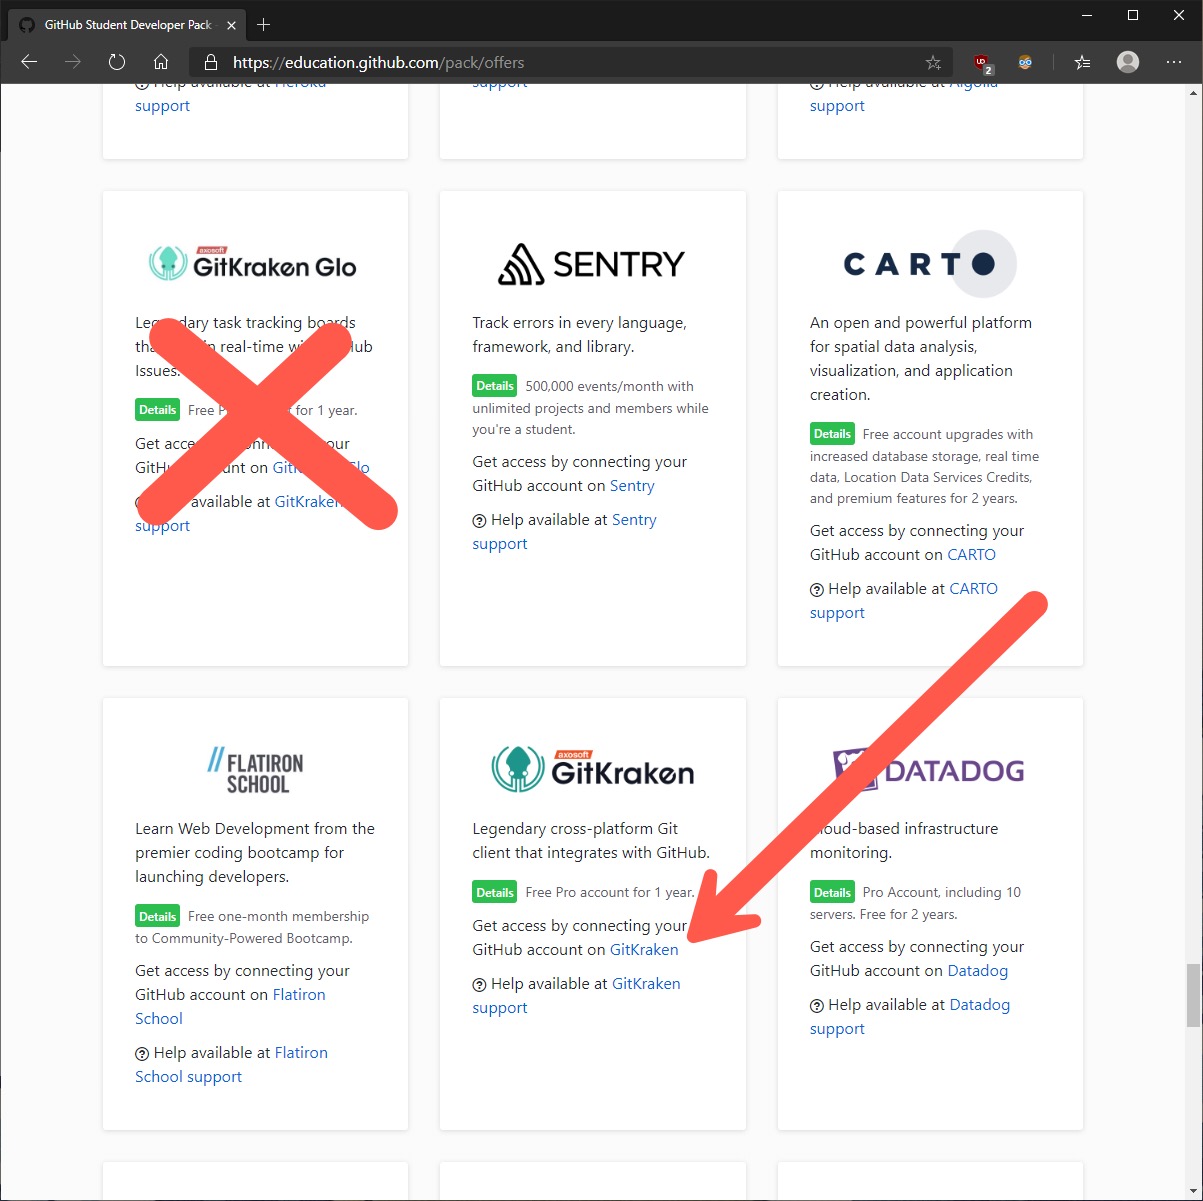
Figure 4: Find GitKraken in GitHub Student Developer Pack
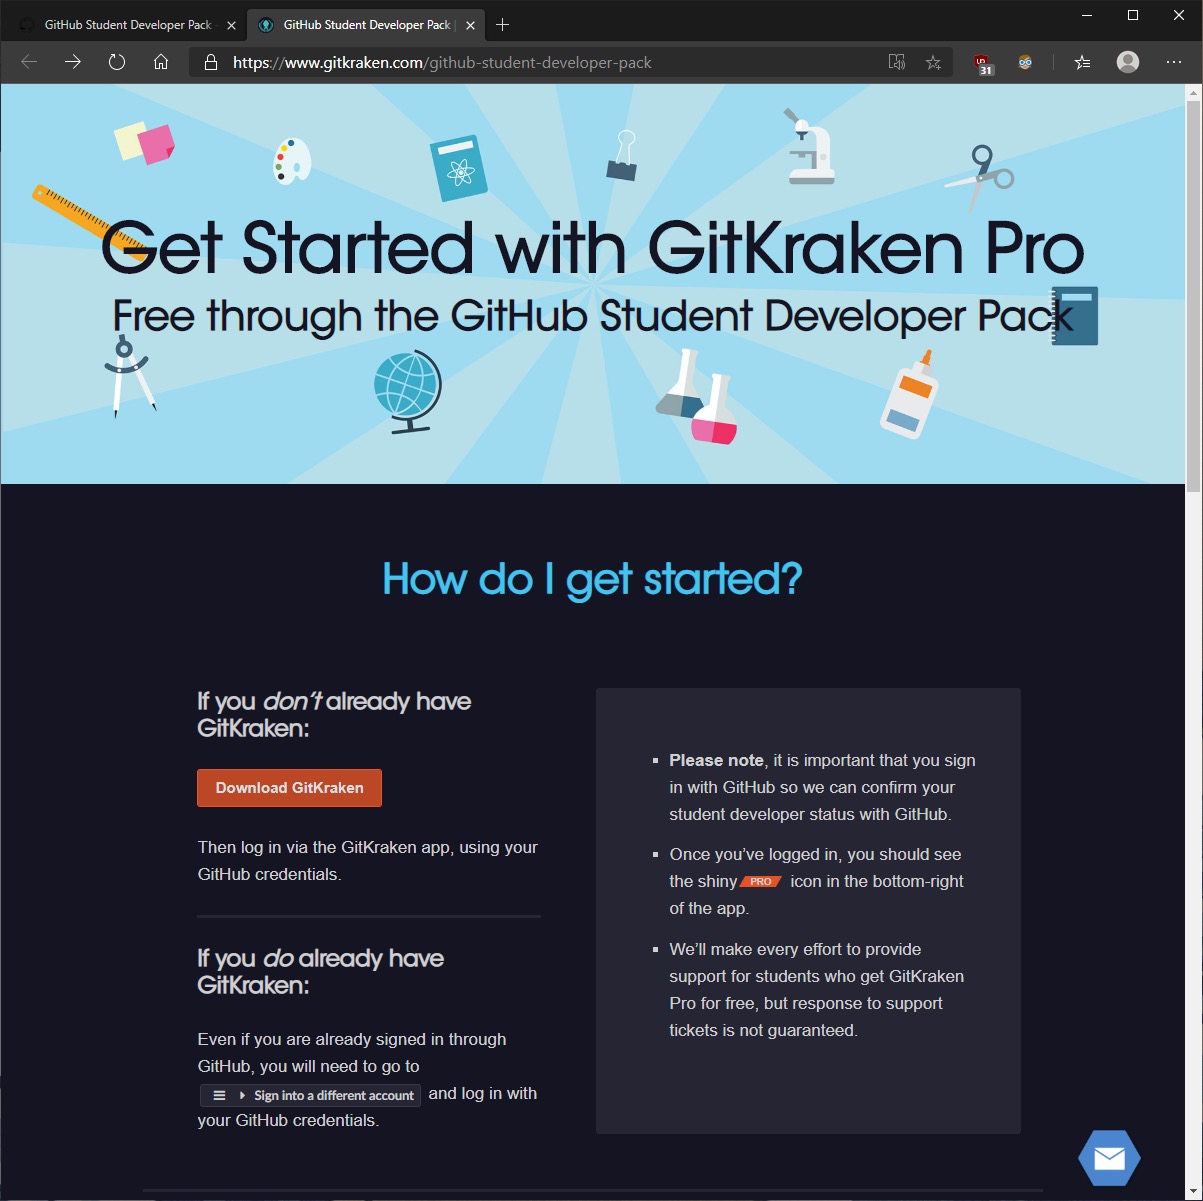
Figure 5: Download Git Kraken
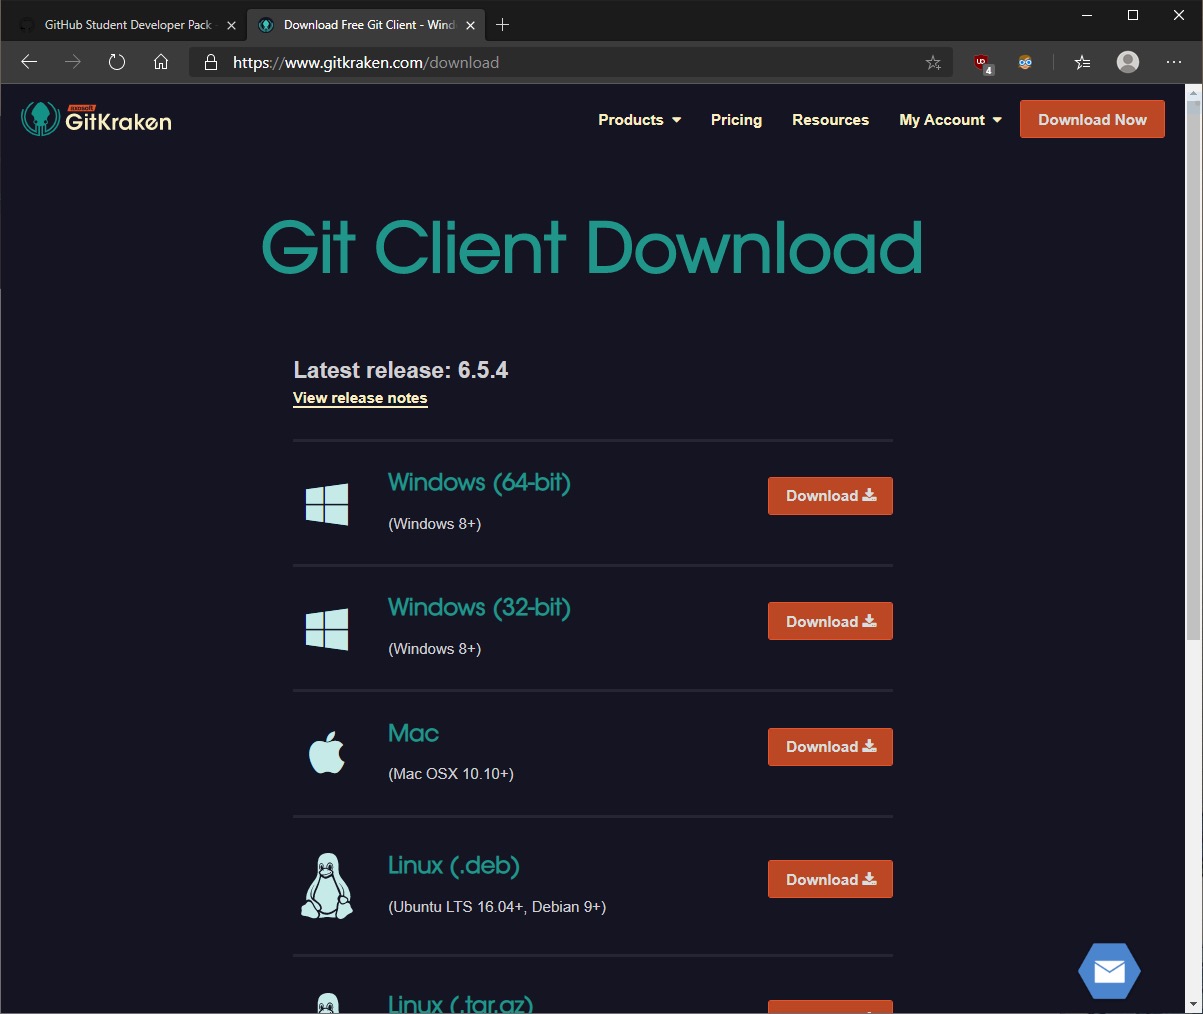
Figure 6: Download GitKraken.
Download the program. If you are on Windows be sure to get the right version of the software. If you are not sure if you are running 64 or 32 bit Windows check here: https://support.microsoft.com/en-us/help/15056/windows-32-64-bit-faq.
Start the installer. When it asks you to configure, click the Sign in with GitHub button.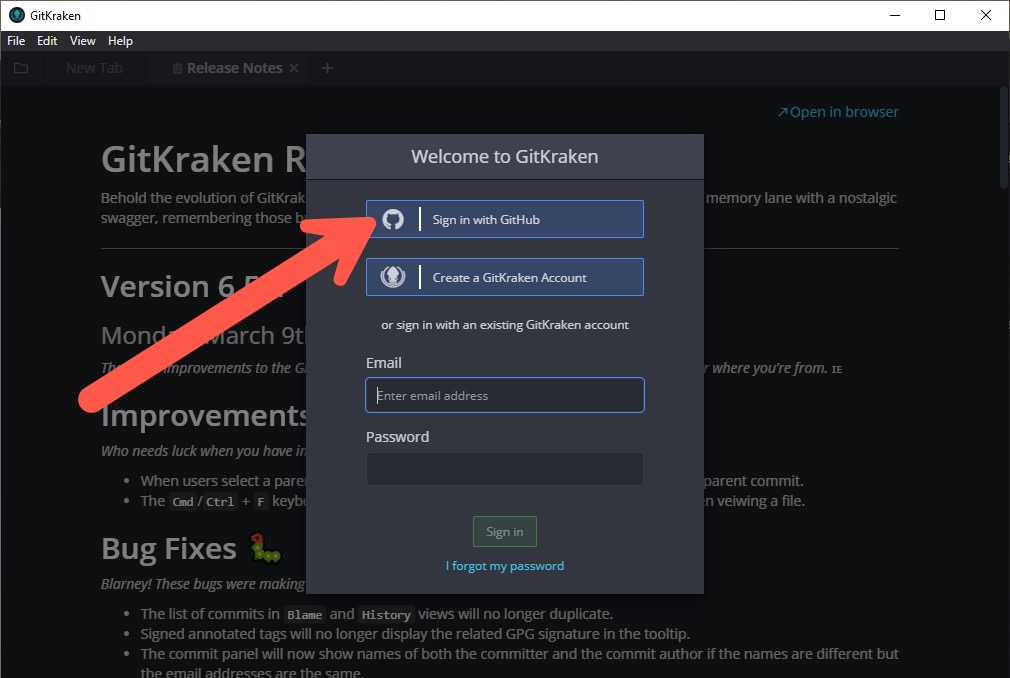
Figure 7: Sign in with GitHub.
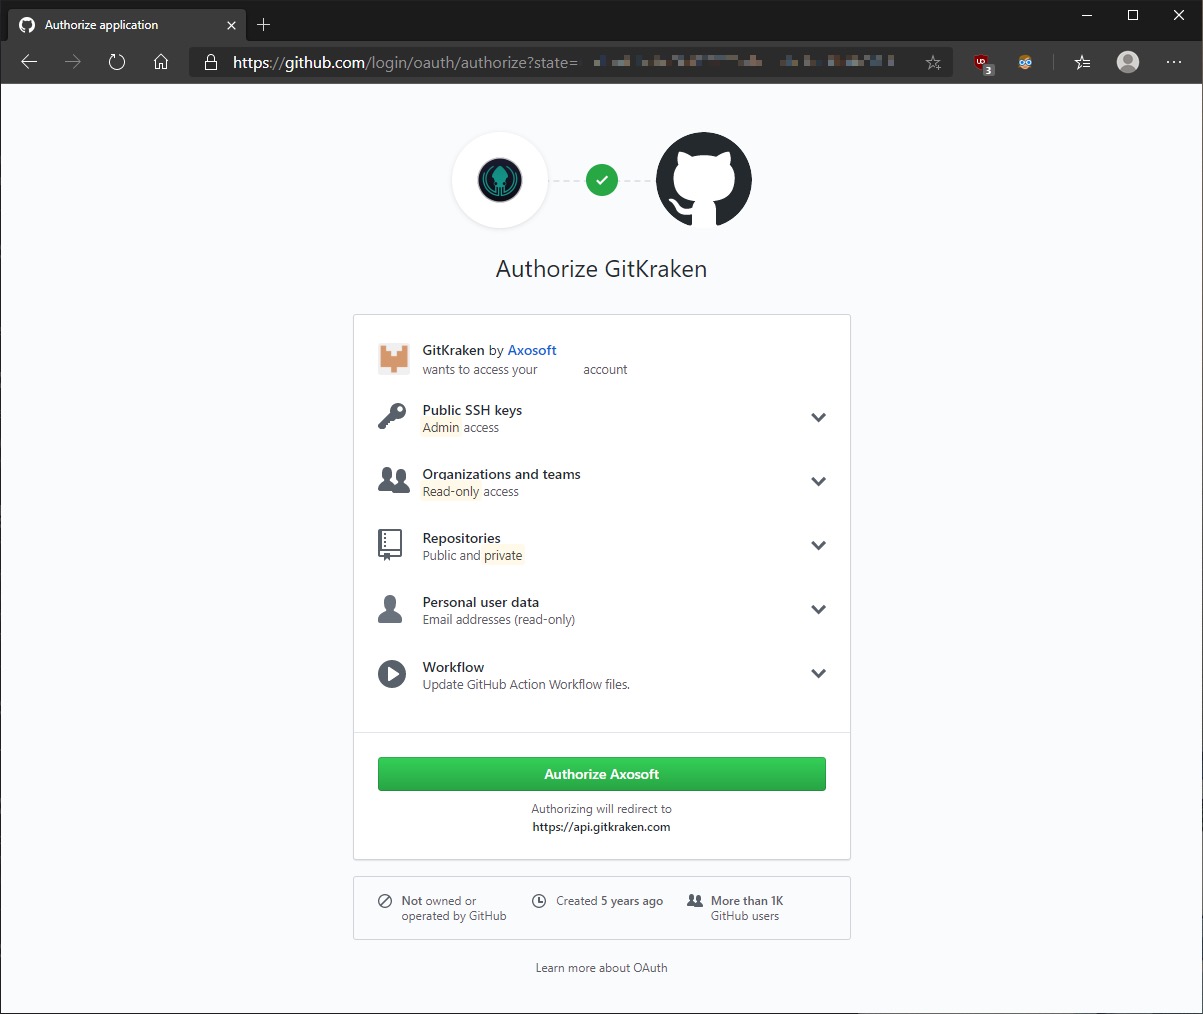
Figure 8: Confirm integration.
Fill in your name and email information in the profile. This should match the email that you used when you set up your GitHub account.
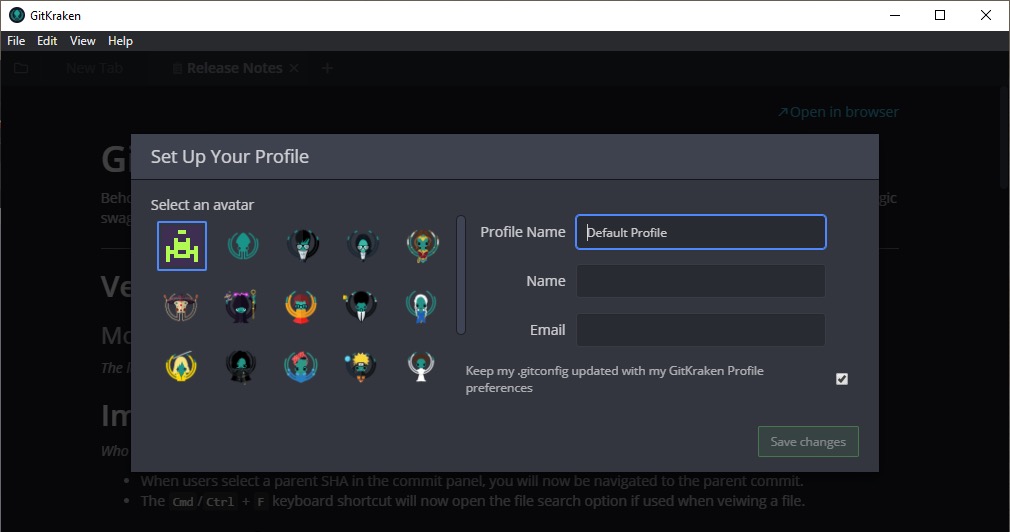
Figure 9: Fill in your profile information.
Read and agree to the License.
Click on the New Tab and you can see the basic interface.
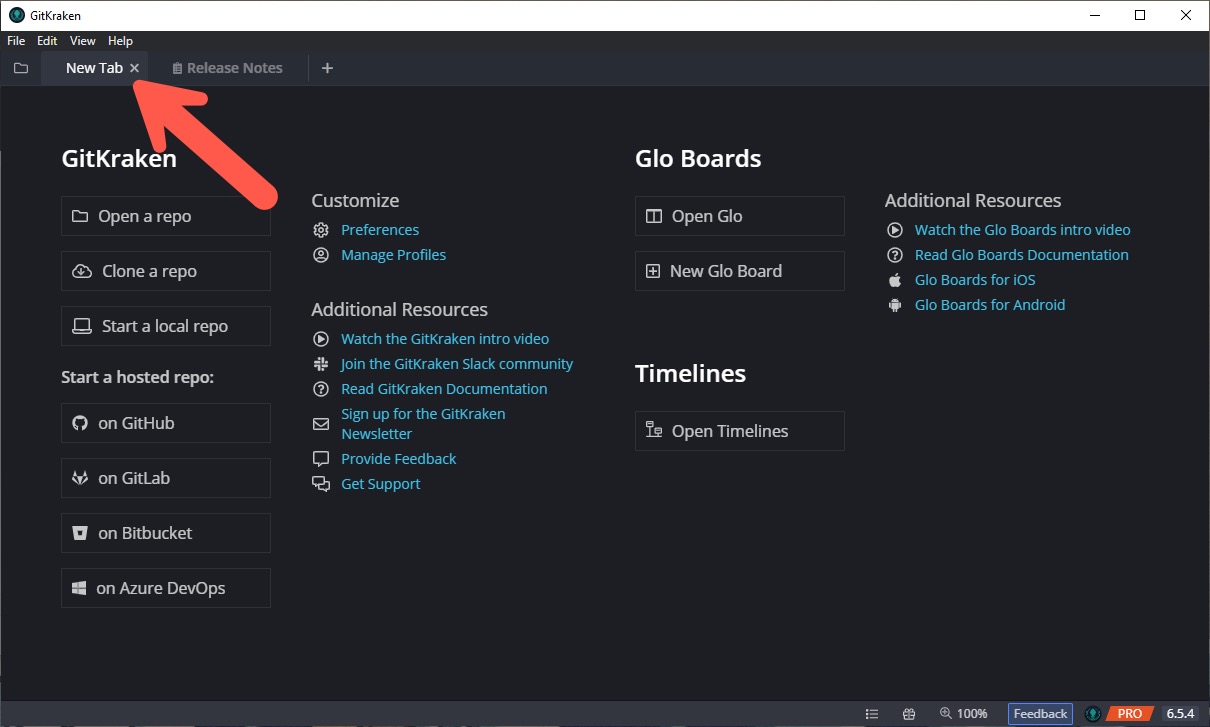
Figure 10: Victory!