Configure a Mac for Data Science
Nov 1, 2019
Mac
Intro
MacOS makes it easy to find, open and manipulate files, but all that pointing and clicking takes time. Eventually, you will want to do a task so many times you will wish to automate it. Macs are built on top of an ancient language for file manipulation called UNIX. UNIX can do the same things you know how to do with the Mac Finder, but instead of pointing and clicking, you type the instructions. Here I am going to show only a couple UNIX commands. My goal is to teach you how to set up your Mac so you can easily get to UNIX for a couple basic tasks which I do all the time.
Before we get into UNIX, first lets install some tools programmers use all the time.
Install LaTeX
Think of LaTeX as a system for drawing complex figures, equations and text. Under the hood it is using a language called TeX (pronounced tech). If you want to have your analysis software save results as PDFs, you will want to install LaTeX. There are many versions of LaTeX floating around. In the past I use MacTeX, which you can grab a copy from here. It is a huge install. These days I use a lightweight version of LaTeX that can be installed using R. If you are going to only use R to make PDFs, you will want to install tinytex. If you don’t install MacTeX, leave yourself a mental note to do the tinytex install which is covered in my post on configuring R/RStudio.
Install Xcode
Data scientists work with cutting edge tools that update all the time. Unfortunately, these tools are not usually downloaded from the Mac App Store. Rather, they ship as code files that are built (compiled) using programming languages like C or Fortran. The most important tool for building code on the Mac is Xcode. You can get it from the App Store. It is a huge download, so download it with a fast internet connection. Start it and accept the terms and services before quitting it. You need to complete one more step to finish the Xcode setup, but that requires you to use the UNIX terminal.
The Terminal
To use UNIX on the Mac you need to use a Terminal window. You can find it in the Applications folder in the subfolder called Utilities. Start the terminal app and then paste in this code: xcode-select --install before pushing the return key. Once that is done you have installed and configured Xcode.
Seeing as you are in the terminal, I will tell you a bit about what you are looking at.
Think of UNIX as a programming language that lets you look at and manipulate files on your computer. UNIX is old. REALLY old. It is so old that when it was created, the idea of computer “folders” had not been dreamt up. Back then people called collections of files directories. These days, folders and directories are the same thing. Old programmers, like me, will sometimes call a folder a directory and other times a directory a folder. Be kind to us… we are old.
When you start up the terminal you will be looking in your home directory.
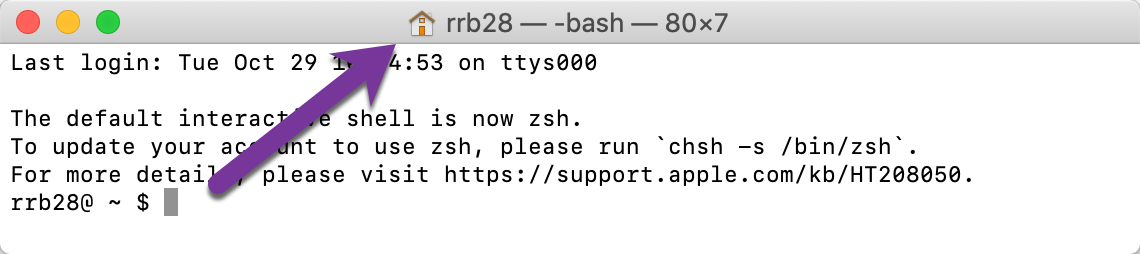
That location is the same home you have passed through using the Finder. In the Finder your home directory looks like this:
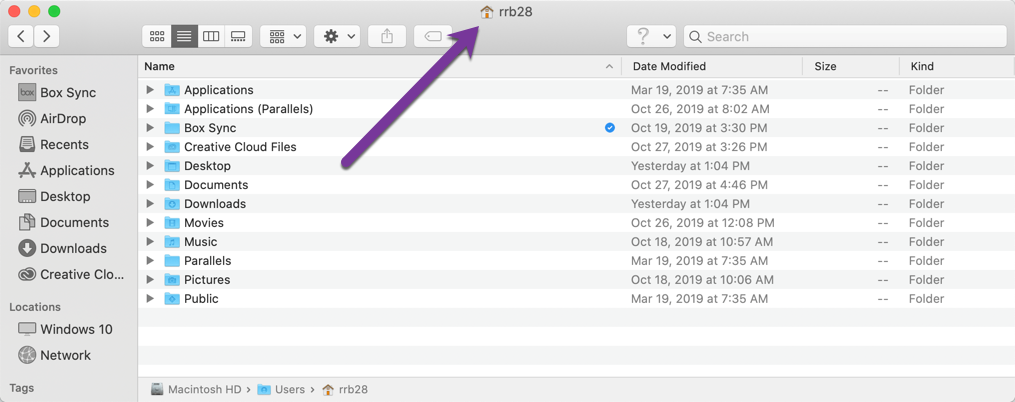
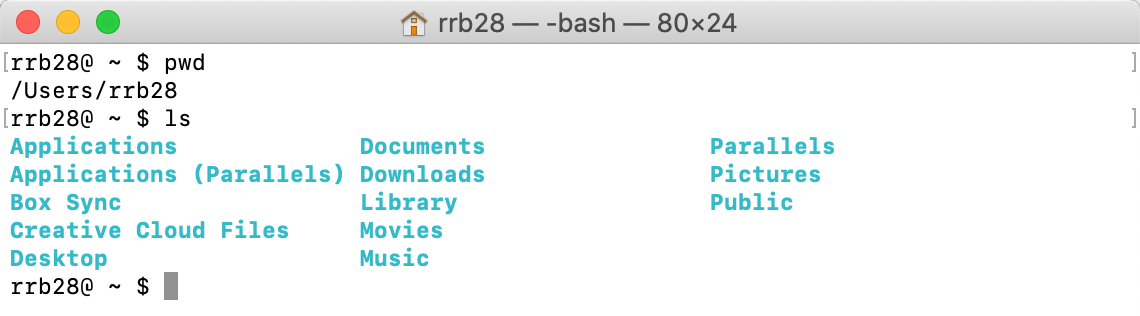
You can check to see what directory you are looking into by typing lowercase pwd and then pushing return. pwd stands for present working directory. One of the most annoying things about UNIX is it is case sensitive. So, if you type the name with any capital letters it will complain because it does not know what you mean. You will see something like this:

In my case, I am inside of a directory/folder called rrb28 which is inside of directory/folder called Users.
You can get a list of stuff in this directory by typing ls. You will see something like this:
I will show you how to set your files and folders to display using different colors on another day.
You will want to move “into” one of the folders nested inside of your home directory. You can change the directory by typing cd then the name of the folder you want to be in. So to move inside of the Pictures folder type cd Pictures. Yes that is too much typing…. Happily UNIX will auto complete so you can type cd Pi and push the tab key and UNIX will type the rest of of the word for you (but you still need to push the return key). Once you are inside a folder you leave it and go to its parent folder with cd ... You can jump back to home with cd ~ (the ~ key, which is called tilde, can be found above the tab key). If you move into a directory and you decide you would rather work from the finder, you can type open . and a finder window will open showing the content of the directory you were just “inside of”.
Rather than having to dig around with cd commands I typically use the finder to get to where I want to be and then open a terminal window in that folder/directory. Enabling that is the next step.
Show the Terminal from Finder
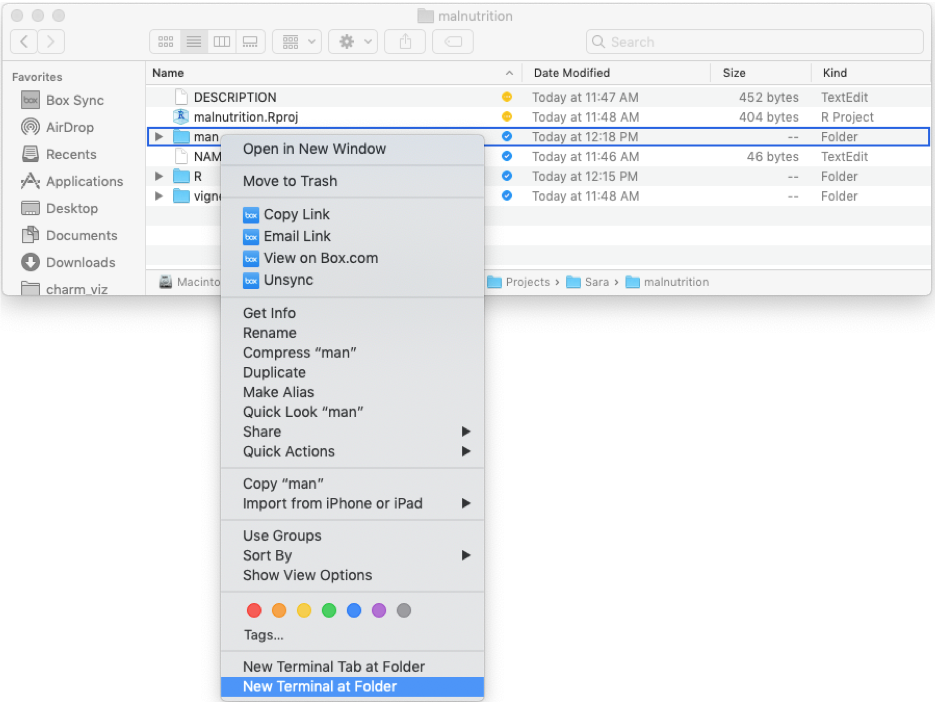
You can configure your Finder to add a “New Terminal at Folder” option to the bottom of the pop-up menu when you secondary click (also known as right click or control click) on a folder. It will look something like this:
 .
.
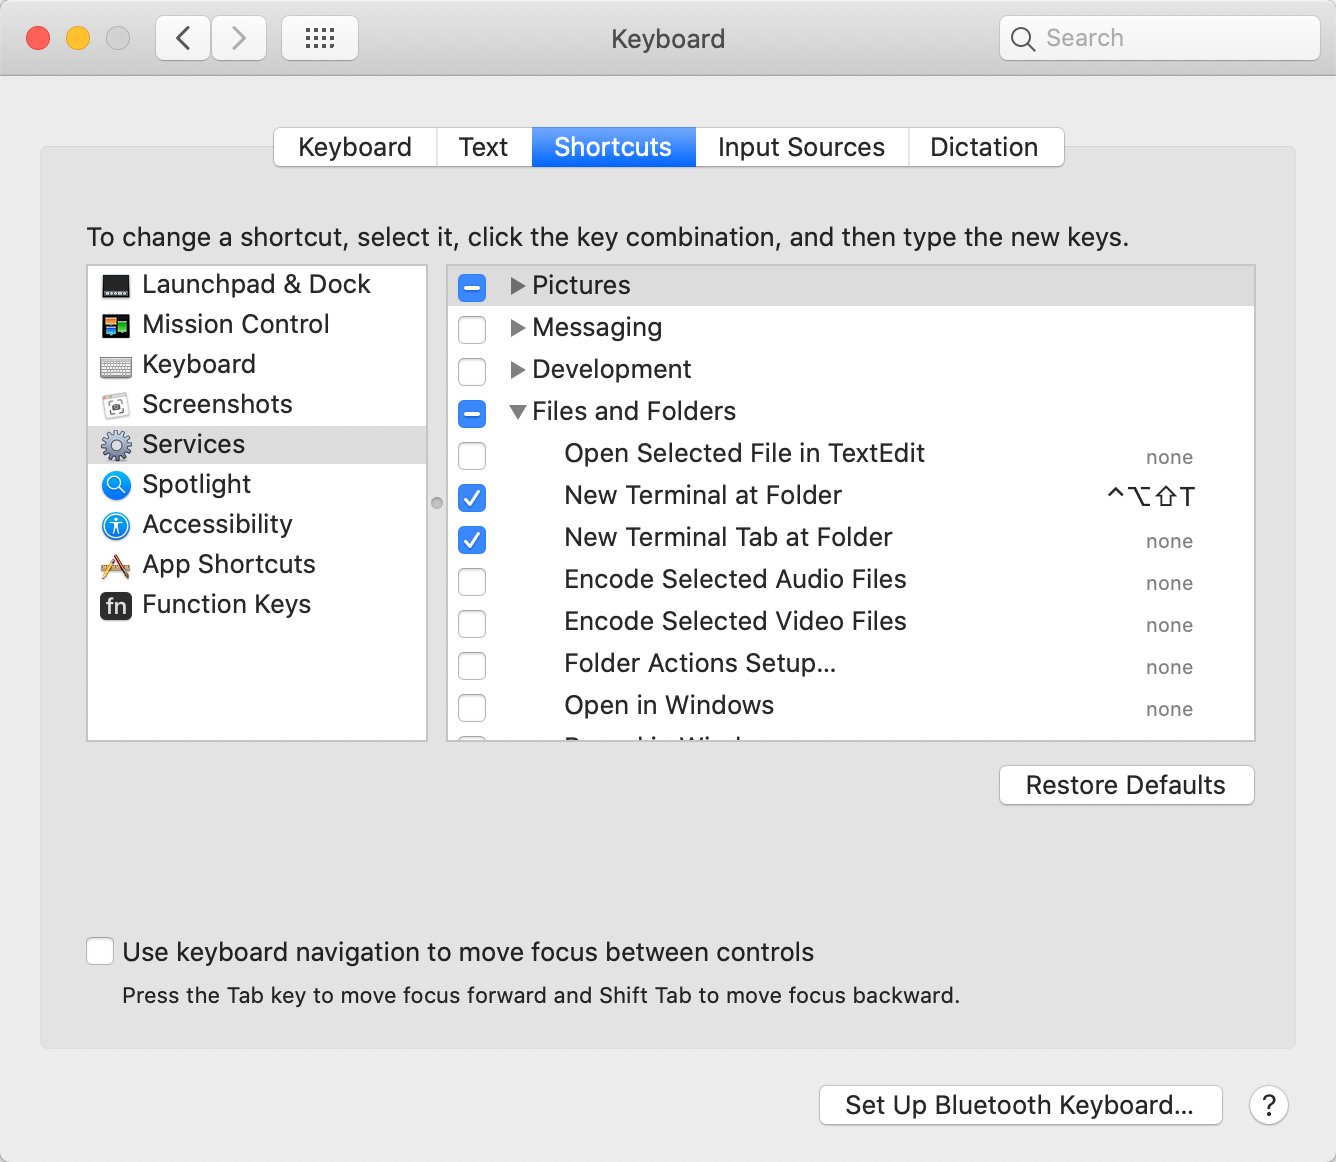
To enable this menu option:
- Open your Mac’s System Preferences… (under the Apple menu in the top left corner)
- Choose Keyboard
- Choose Shortcuts
- Choose Services
- Scroll down to Files and Folders
- Check on New Terminal at Folder. You can also check on New Terminal Tab at Folder
When you are done the setup should look something like this:
You can read details on the configuration here.
Showing and Using Paths
You may know that you can see (and move to folders) if you secondary click on the name of a file in the Finder (and many other programs). For example:
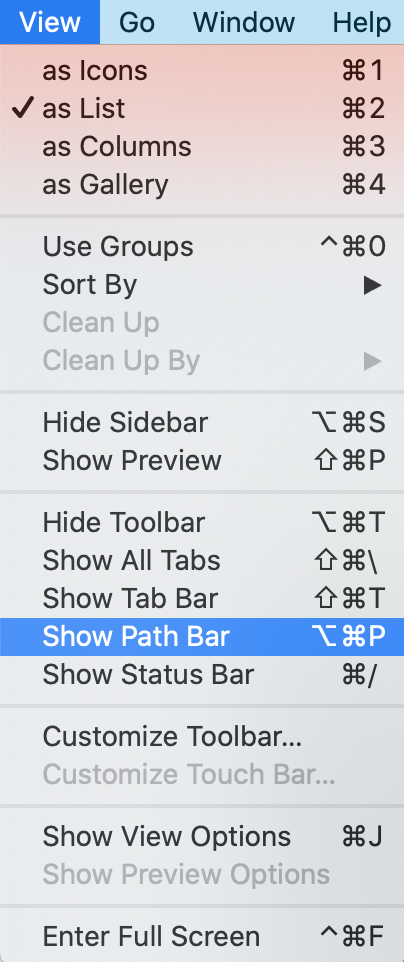
Another very useful option is to turn on the Path Bar in the Finder:
 .
.
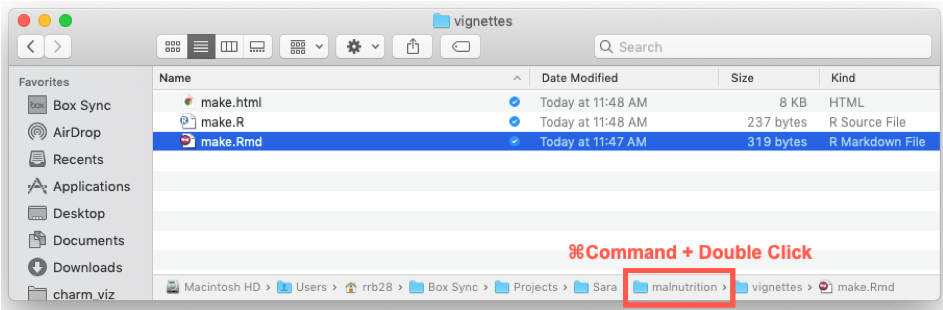
Once the Path Bar is on you can secondary click on files to copy the name and path. 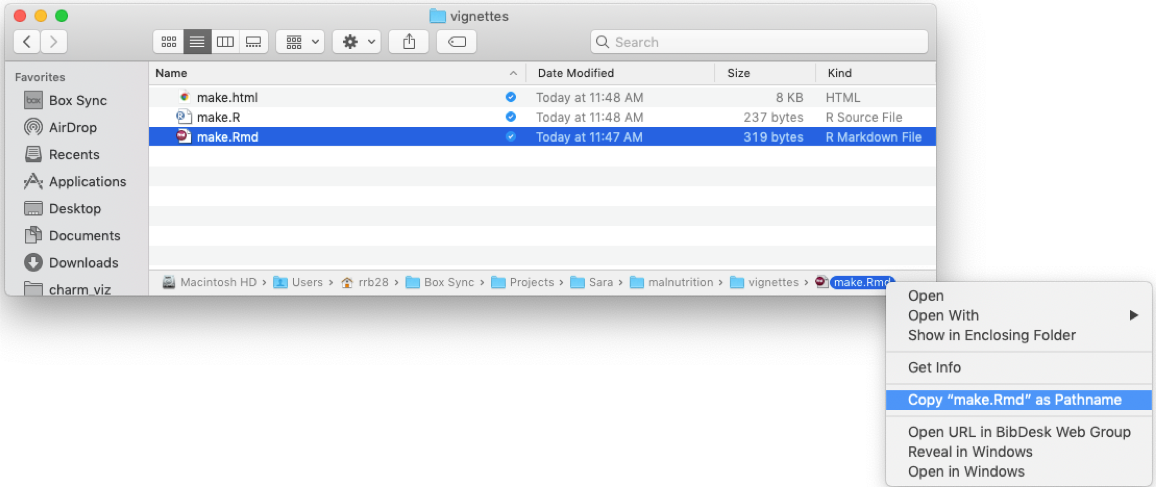
You can also command double click folders in the path to open another finder window at that location: